
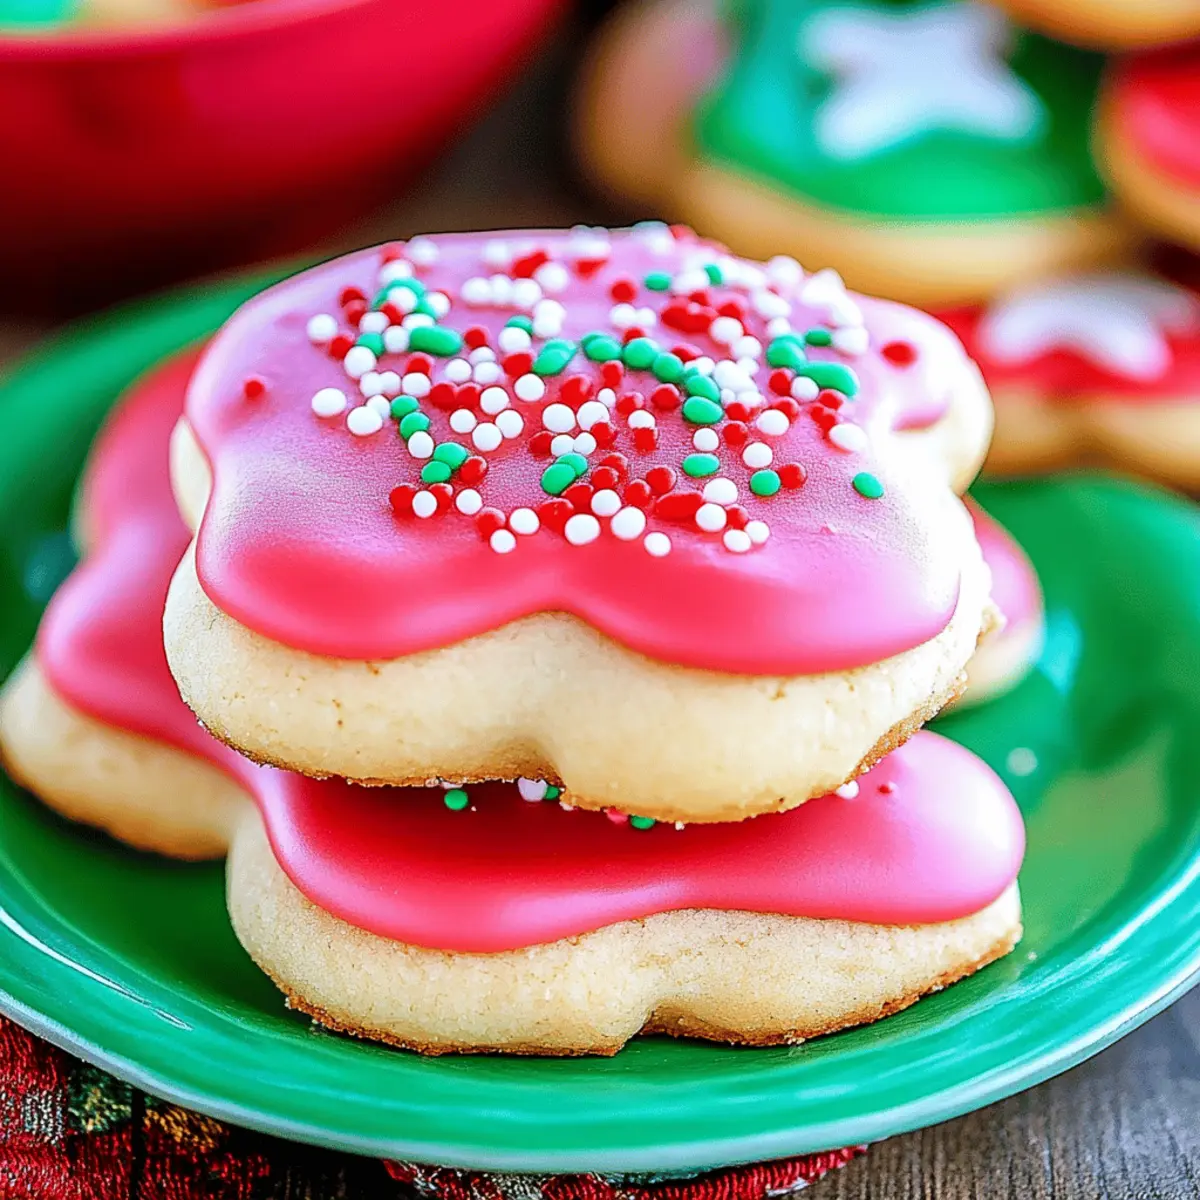
There’s something truly delightful about transforming a simple batch of cookies into a canvas for creativity. One of my favorite moments in the kitchen is when I whip up a batch of sugar cookie icing that hardens beautifully—perfect for adding a personal touch to any occasion. Just last week, I found myself surrounded by a flurry of sprinkles and vibrant colors as I prepped for a neighborhood bake sale. The aroma of sweet vanilla filled the air, triggering a nostalgic sense of joy, reminiscent of my childhood baking days.

This sugar cookie icing is not only simple to make, but it also gives your cookies that professional touch while being incredibly forgiving for those of us who may not claim to be expert bakers. With just a handful of ingredients and some patience, you can elevate your cookie game dramatically. Whether you’re decorating for a birthday party or just indulging in a cozy evening at home, this icing adds a dash of magic to each creation. Join me as I guide you through this easy, yet impressive recipe that promises to harden to a flawless finish!
Why is Sugar Cookie Icing That Hardens a Must-Try?
Simplicity at your fingertips: With just a few ingredients, anyone can create a stunning icing without fuss.
Perfectly hardens: Your cookies will look bakery-fresh and withstand the test of time, making them perfect for gifting or storing.
Creative freedom: Customize with food coloring to match any occasion and let your artistic side shine.
Family-friendly: A fun project for all ages, it brings everyone together for a delightful baking experience.
Crowd-pleaser: Whether for parties or personal enjoyment, these decorated cookies are sure to impress.
Sugar Cookie Icing That Hardens Ingredients
• Perfect for your baking adventures!
For the Icing
- 2 cups powdered sugar – sifted for a smooth finish
- 2 tablespoons milk – use full-fat for creamier texture
- 1 tablespoon light corn syrup – ensures a nice glossy sheen
- ½ teaspoon vanilla extract – for a delightful flavor boost
- Food coloring (optional) – brighten your cookies with fun hues
This easy recipe for sugar cookie icing that hardens offers the perfect blend of simplicity and deliciousness, setting the stage for unforgettable cookie decorations!
How to Make Sugar Cookie Icing That Hardens
-
Gather ingredients: Begin by collecting all your icing ingredients on a clean surface. This ensures a smooth workflow, making the process enjoyable and hassle-free.
-
Mix together: In a medium bowl, combine the sifted powdered sugar, milk, light corn syrup, and vanilla extract. Stir together until the mixture is creamy and smooth, about 1-2 minutes.
-
Adjust consistency: If your icing feels too thick, add an extra splash of milk, mixing well. Aim for a silky-smooth texture that can flow easily for decorating, but still holds its shape on cookies.
-
Add color: If you’d like to make your cookies pop, now’s the time to add a few drops of food coloring. Stir thoroughly to achieve an even color throughout the icing.
-
Decorate your cookies: Time to unleash your creativity! Use a piping bag or a simple dipping technique to cover your cooled cookies with the icing. Have fun with designs—you’re the artist here!
-
Let harden: Place your decorated cookies on a cooling rack and allow them to sit at room temperature for about 6 to 8 hours. You’ll know they are ready when the icing feels firm and non-sticky to the touch.
Optional: Drizzle contrasting colors for an extra touch of flair.
Exact quantities are listed in the recipe card below.
Make Ahead Options
These delicious sugar cookie icing that hardens are perfect for meal prep enthusiasts! You can prepare the icing up to 24 hours in advance, storing it in an airtight container in the refrigerator to maintain its quality and prevent drying out. When you’re ready to decorate, simply take the icing out, give it a quick stir (adding a splash of milk if it has thickened), and then apply it to your cooled cookies using your preferred method. This way, you can minimize last-minute stress, ensuring your cookies have that stunning, professional look with just a little advance planning! Enjoy the ease of prepping ahead and savor the time saved during your busy weeknight baking sessions.
Expert Tips for Sugar Cookie Icing That Hardens
-
Achieve the Right Consistency: If your icing is too runny, it won’t hold its shape. Add more powdered sugar gradually until smooth yet thick enough to pip.
-
Use Quality Ingredients: Fresh, high-quality vanilla extract can enhance the flavor greatly, making your sugar cookie icing that hardens even more delicious.
-
Coloring Cautions: When adding food coloring, start with just a drop. You can always mix more in, but it’s tough to lighten a dark color!
-
Proper Dry Time: Be patient—using a fan can speed up the hardening process, but allow at least 6 hours for best results to avoid smudging your designs.
-
Storage Tips: Keep decorated cookies in an airtight container at room temperature. They should maintain their beauty and crispness for several days.
-
Avoid Humidity: Icing can be temperamental in humid environments. If possible, work in a cool, dry area to ensure your sugar cookie icing that hardens sets perfectly.
What to Serve with Sugar Cookie Icing That Hardens?
Transform your cookie decorating into a festive feast that delights all senses.
-
Fresh Berries: A burst of tangy sweetness, these vibrant fruits complement the sugar cookies beautifully and add a refreshing contrast.
-
Spiced Hot Cocoa: Cozy up with a warm cup of cocoa, spiked with spices like cinnamon and nutmeg, making every bite of cookie even more comforting.
-
Vanilla Ice Cream: A scoop of creamy vanilla ice cream provides a rich, indulgent pairing that’s delightful against the sweetness of your decorated cookies.
-
Coffee or Espresso: Start your day right with a robust brew that cuts through the sweetness, leaving you refreshed and ready for cookie enjoyment.
-
Nutty Trail Mix: The crunchy texture and savory flavors bring balance to your cookies, offering a satisfying snack to enjoy alongside your sugary creations.
-
Cheesecake Dip: A creamy, cheesecake-inspired dip serves as a perfect companion for cookie dunking—a fun way to elevate your dessert experience.
Enjoy mixing and matching these delightful pairings for a truly festive gathering!
Sugar Cookie Icing That Hardens Variations
Feel free to let your creativity shine and make this icing your own with these fun twists!
-
Almond Flavor: Substitute vanilla extract with almond extract for a nutty, aromatic twist that will elevate your cookies.
-
Coconut Touch: Swap the milk for coconut milk to add a tropical flavor, bringing a delightful hint of the islands to your icing.
-
Vegan Option: Use almond milk and agave syrup instead of milk and corn syrup for a dairy-free icing that hardens beautifully.
-
Chocolate Drizzle: Melt some dark chocolate and drizzle over the hardened icing for an indulgent touch that chocolate lovers will adore.
-
Sprinkles Galore: After icing, sprinkle edible glitter or colored sprinkles on top before it hardens for an extra festive look; it’ll bring smiles to all!
-
Spice it Up: Add a pinch of cinnamon or nutmeg to the mixture for a warm flavor surprise—this twist is perfect for the holidays!
-
Lemon Zest: For a refreshing twist, mix in a teaspoon of grated lemon zest. It brightens the flavor and adds a delightful aroma.
-
Minty Fresh: Incorporate a few drops of peppermint extract for a cool, invigorating flavor profile that pairs perfectly with chocolate cookies.
Storage Tips for Sugar Cookie Icing That Hardens
-
Room Temperature: Decorated cookies can be safely stored at room temperature in an airtight container for up to 5 days, keeping their beautiful designs intact.
-
Fridge: If you need to store them for longer, place the cookies in the fridge for up to 1 week. Be sure to separate layers with parchment paper to prevent sticking.
-
Freezer: For even longer storage, freeze the decorated cookies for up to 3 months. Wrap each cookie individually in plastic wrap and place in a freezer-safe bag.
-
Reheating: When ready to enjoy frozen cookies, thaw them overnight in the fridge before bringing them back to room temperature. This way, your sugar cookie icing that hardens maintains its lovely finish!

Sugar Cookie Icing That Hardens Recipe FAQs
What type of milk should I use for the icing?
I recommend using full-fat milk for a creamier texture; it helps achieve that beautiful silky-smooth consistency. You can also substitute with almond or coconut milk if you prefer a dairy-free option!
How should I store decorated cookies?
You can store decorated cookies in an airtight container at room temperature for up to 5 days. If you need a longer shelf-life, they can be kept in the fridge for up to 1 week—just be sure to separate layers with parchment paper to avoid sticking.
Can I freeze cookies decorated with this icing?
Absolutely! You can freeze your decorated cookies for up to 3 months. Just wrap each cookie individually in plastic wrap and place them in a freezer-safe bag. When you’re ready to enjoy them, thaw the cookies overnight in the fridge for the best results.
What if the icing is too runny?
If your icing is too runny, don’t panic! Gradually add more sifted powdered sugar, mixing well after each addition until you achieve a thicker, pipeable consistency. Aim for a texture that holds its shape when piped, but still flows smoothly.
How can I prevent my icing from being affected by humidity?
Humidity can be tricky for icing consistency! To combat this, try to work in a cool, dry area when you make your sugar cookie icing that hardens. If possible, avoid making cookies on particularly humid days, as it can prevent the icing from setting properly.
Is there a way to adjust the sweetness of the icing?
Yes! If you find the icing too sweet for your taste, you can reduce the amount of powdered sugar slightly. Just remember that it might affect the icing’s ability to harden completely, so adjust carefully for the best results.

Irresistibly Easy Sugar Cookie Icing That Hardens Perfectly
Ingredients
Equipment
Method
- Gather ingredients: Begin by collecting all your icing ingredients on a clean surface. This ensures a smooth workflow, making the process enjoyable and hassle-free.
- Mix together: In a medium bowl, combine the sifted powdered sugar, milk, light corn syrup, and vanilla extract. Stir together until the mixture is creamy and smooth, about 1-2 minutes.
- Adjust consistency: If your icing feels too thick, add an extra splash of milk, mixing well. Aim for a silky-smooth texture that can flow easily for decorating, but still holds its shape on cookies.
- Add color: If you'd like to make your cookies pop, now’s the time to add a few drops of food coloring. Stir thoroughly to achieve an even color throughout the icing.
- Decorate your cookies: Time to unleash your creativity! Use a piping bag or a simple dipping technique to cover your cooled cookies with the icing. Have fun with designs—you’re the artist here!
- Let harden: Place your decorated cookies on a cooling rack and allow them to sit at room temperature for about 6 to 8 hours. You'll know they are ready when the icing feels firm and non-sticky to the touch.